The most expensive shape on a small track to get wrong is a berm, because a failed one takes the corner with it. It also happens to be the shape people build in the biggest hurry, usually by pushing material to the outside of a corner with a blade until it looks about right. This note is about why that fails and what replaces it.
A heap is not a berm
Material pushed into a pile arrives loose and stays loose. Its own weight compacts the bottom few inches and nothing else, so the wall a rider leans on is a shell of uncompacted soil over a slightly firmer base. The first hard lean pushes that shell outward, the second finds the cavity the first one made, and by the third session the top of the berm has broken away and what is left is a ramp that throws the front wheel wide.
A built berm is the same material placed in layers, each one compacted before the next goes on. That is the whole difference. It is slower, it does not need any equipment a small property does not already have, and it is the reason some berms last a season and others last a weekend.
Material: use what the corner is made of
The best material for a berm is the material immediately around it, for two reasons. It behaves the same way as the corner it joins, so there is no seam where a tire crosses from one soil to another, and it takes and holds moisture on the same schedule, so a watering pass treats the whole corner alike.
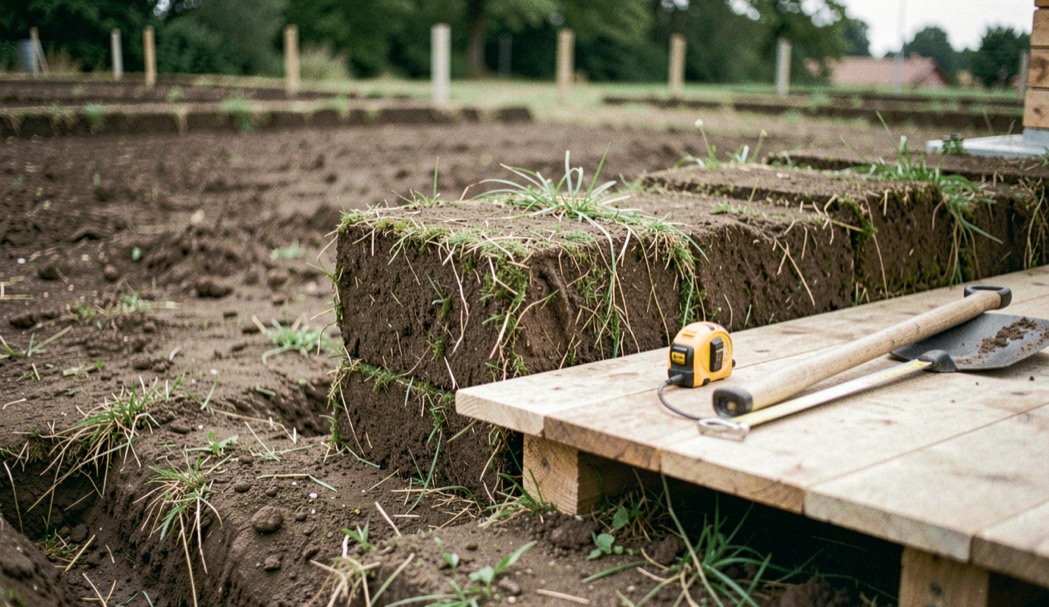
Two materials to keep out: sod, and anything organic. A layer of cut turf buried in a berm rots, loses volume and leaves a void, and the berm settles into a dip exactly where the void was. If turf has to be stripped to get at soil, it goes somewhere else on the property. Rock larger than a fist is the other exclusion, not because it will not compact but because it surfaces, and a fist sized rock proud of a berm face is a genuine hazard.
Building it, in layers
- Scarify the ground the berm will stand on. New material placed on a smooth, packed surface slides along that surface. Roughening it gives the first layer something to key into.
- Place a layer no thicker than four to six inches. Thicker than that and compaction only reaches the top of it, which reproduces the heap problem inside your layers.
- Bring it to moisture before compacting. Soil compacts far better damp than dry or saturated. Dry material shifts under the compactor rather than consolidating; saturated material pumps.
- Compact the full width, including the outside face. The face is the part that fails, and it is the part a machine most easily misses.
- Repeat, and keep the profile in mind while you go. A berm built to full height in the middle and tapered afterward has a compacted core and loose ends, which is where it will break.
What angle, and why answer it later?
People want an angle before they start. The useful answer is that the angle a berm needs depends on the speed it will be taken at, and the arithmetic for that is worked in berms and corner speed. What matters at the building stage is different and simpler: build the outside face steeper than the angle you want, because traffic will lay it back, not stand it up. A berm finished at exactly the intended angle is at the wrong angle a fortnight later.
The layer rule
Four to six inches at a time, damp, compacted across the full width including the face. Everything else about a berm is a detail by comparison.
How does a new berm fail in its first month?
- It slumps evenly. Placed too dry, or too thick per layer. It will keep slumping and needs rebuilding rather than topping up.
- The top breaks off in a section. The face was not compacted, only the flat. Cut the broken part back to firm material and rebuild that section in layers.
- A dip appears in one spot. Something organic was buried there, or a soft pocket was built over. Dig it out rather than filling it.
- Water cuts a channel down the outside face. Runoff from above is crossing the berm because it has nowhere else to go. That is not a berm problem, and the fix is upstream, in drainage after rain.
Keeping it alive
A finished berm needs less attention than a new one, but it needs the right kind. Water it with the corner rather than separately, because a dry berm face powders and a saturated one collapses. Resist the urge to blade it: a blade on a berm face removes the compacted skin and exposes loose material underneath, which is the opposite of what the wall needs. When wear does need answering, it is answered the way the berm was built, by adding a layer, bringing it to moisture and compacting it. The rest of the maintenance year around it is in grooming a track.
Sources checked for this note
This note quotes no external document. Layered placement with compaction between layers is ordinary earthmoving practice rather than a proprietary method, and the guidance here is this desk's working version of it, offered to be judged on its reasoning. Nothing in it is an engineering specification, and no measurement of any property is claimed. Where a real structure has to hold water or carry a load, the published criteria quoted in drainage after rain are the place to start instead.